Homemade Bread Recipe (Soft, Fluffy & Foolproof)
Introduction (From My Kitchen)
In my kitchen, this homemade bread recipe has been tested more than 50 times—adjusting flour, hydration, and kneading until it became truly foolproof. What started as dense, uneven loaves turned into soft, fluffy bread with a golden crust that my family now asks for every week.

What I love most about this homemade bread is how reliable it is. Once you understand how the dough should feel, baking becomes predictable—not guesswork. This guide gives you those exact cues so your first loaf doesn’t feel like your tenth attempt.
Quick Recipe Summary
- Prep Time: 20 minutes
- Rise Time: 90–120 minutes
- Bake Time: 30–35 minutes
- Total Time: ~2.5 hours
- Yield: 1 loaf (10–12 slices)
- Difficulty: Beginner-friendly
Ingredients

✔️ Use Checkboxes While Baking
- 3 cups all-purpose flour (360g)
- 1 cup warm water (240ml / 240g)
- 2¼ tsp active dry yeast (7g)
- 2 tbsp sugar (25g)
- 1 tsp salt (6g)
- 2 tbsp oil or melted butter (30ml / 28g)
Ingredient Notes (Expert Level Clarity)
- Water should feel like slightly warm bath water (~38–40°C), never hot
- Flour measurement matters → always use spoon & level method
- Yeast should smell mildly sweet, not sharp or sour
Substitutions
- Sugar → Honey (same quantity)
- Oil → Butter (richer flavor)
- Replace up to 50% flour with whole wheat (add 1–2 tbsp extra water)
Equipment Needed
- Mixing bowl
- 8×4 inch loaf pan
- Clean cloth or plastic wrap
- Oven
- Measuring cups or kitchen scale (recommended)
Homemade Bread Step-by-Step Instructions
Step 1 — Activate Yeast
In a bowl, combine warm water + sugar + yeast.
At first, it looks like cloudy liquid → within minutes, a creamy foam forms on top.
You’ll notice:
- Light frothy bubbles
- Slight sweet, bakery-like smell
👉 No foam = yeast is inactive → restart
Step 2 — Form the Dough
Add flour, salt, and oil. Mix until it forms a rough dough.
It starts shaggy and sticky → gradually pulls together into one soft mass.
What it should feel like:
- Slightly tacky (sticks lightly to fingers but doesn’t smear)
- Not dry or crumbly
👉 Too dry → add 1 tbsp water
👉 Too sticky → add 1 tbsp flour at a time

Step 3 — Kneading (Critical Step)
Push, fold, and stretch the dough repeatedly.
Sticky and rough → becomes smooth, elastic, and soft.
After 8–10 minutes:
- Surface looks slightly glossy
- Dough stretches without tearing
Test:
Press finger → dough slowly springs back
👉 This is where most homemade bread fails—don’t rush
Step 4 — First Rise
Place dough in a greased bowl and cover.
Dense ball → doubles in size and becomes airy.
Ready when:
- Puffy and soft
- Finger leaves a dent that doesn’t bounce back fully

Step 5 — Shape the Dough
Gently punch down (you’ll hear soft air release).
Shape into a log and place into loaf pan.
Dough now looks smooth and structured.
Step 6 — Second Rise
Let it rise again until it expands above the pan edge.
Transformation:
Compact → airy and slightly domed
Check:
- Slight jiggle when moved
- Surface looks stretched but not tight
Step 7 — Baking
Bake at 180°C (350°F) for 30–35 minutes.
Inside the oven:
- Smell changes from raw dough → warm toasted aroma
- Color shifts pale → golden brown
Perfect doneness signs:
- Deep golden crust
- Bottom sounds hollow when tapped

Step 8 — Cooling
Remove from pan and cool completely.
Hot bread feels soft but delicate → firms up while cooling.
👉 Cutting early traps steam = gummy texture
Pro Tips for Success (From Experience)
- Always use slightly sticky dough for soft homemade bread
- Spoon & level flour—never scoop directly
- Warm environment speeds up proofing (but don’t overheat)
- Let bread cool fully before slicing
Common Mistakes to Avoid
- Adding too much flour (most common issue)
- Using hot water → kills yeast instantly
- Under-kneading → dense bread
- Skipping second rise
Troubleshooting Guide
| Problem | Potential Cause | How to Fix It |
|---|---|---|
| Bread didn’t rise | Dead yeast / cold room | Use fresh yeast & warm environment |
| Dense or heavy loaf | Too much flour / under-kneaded | Keep dough slightly sticky & knead longer |
| Cracked crust | Dough too dry / overproofed | Add moisture & avoid over-rising |
Variations
- Garlic butter bread
- Whole wheat version
- Milk bread (replace water with milk for softer crumb)
- Want to take this bread further? Try this crispy and flavorful garlic bread recipe using the same loaf.
Serving Suggestions
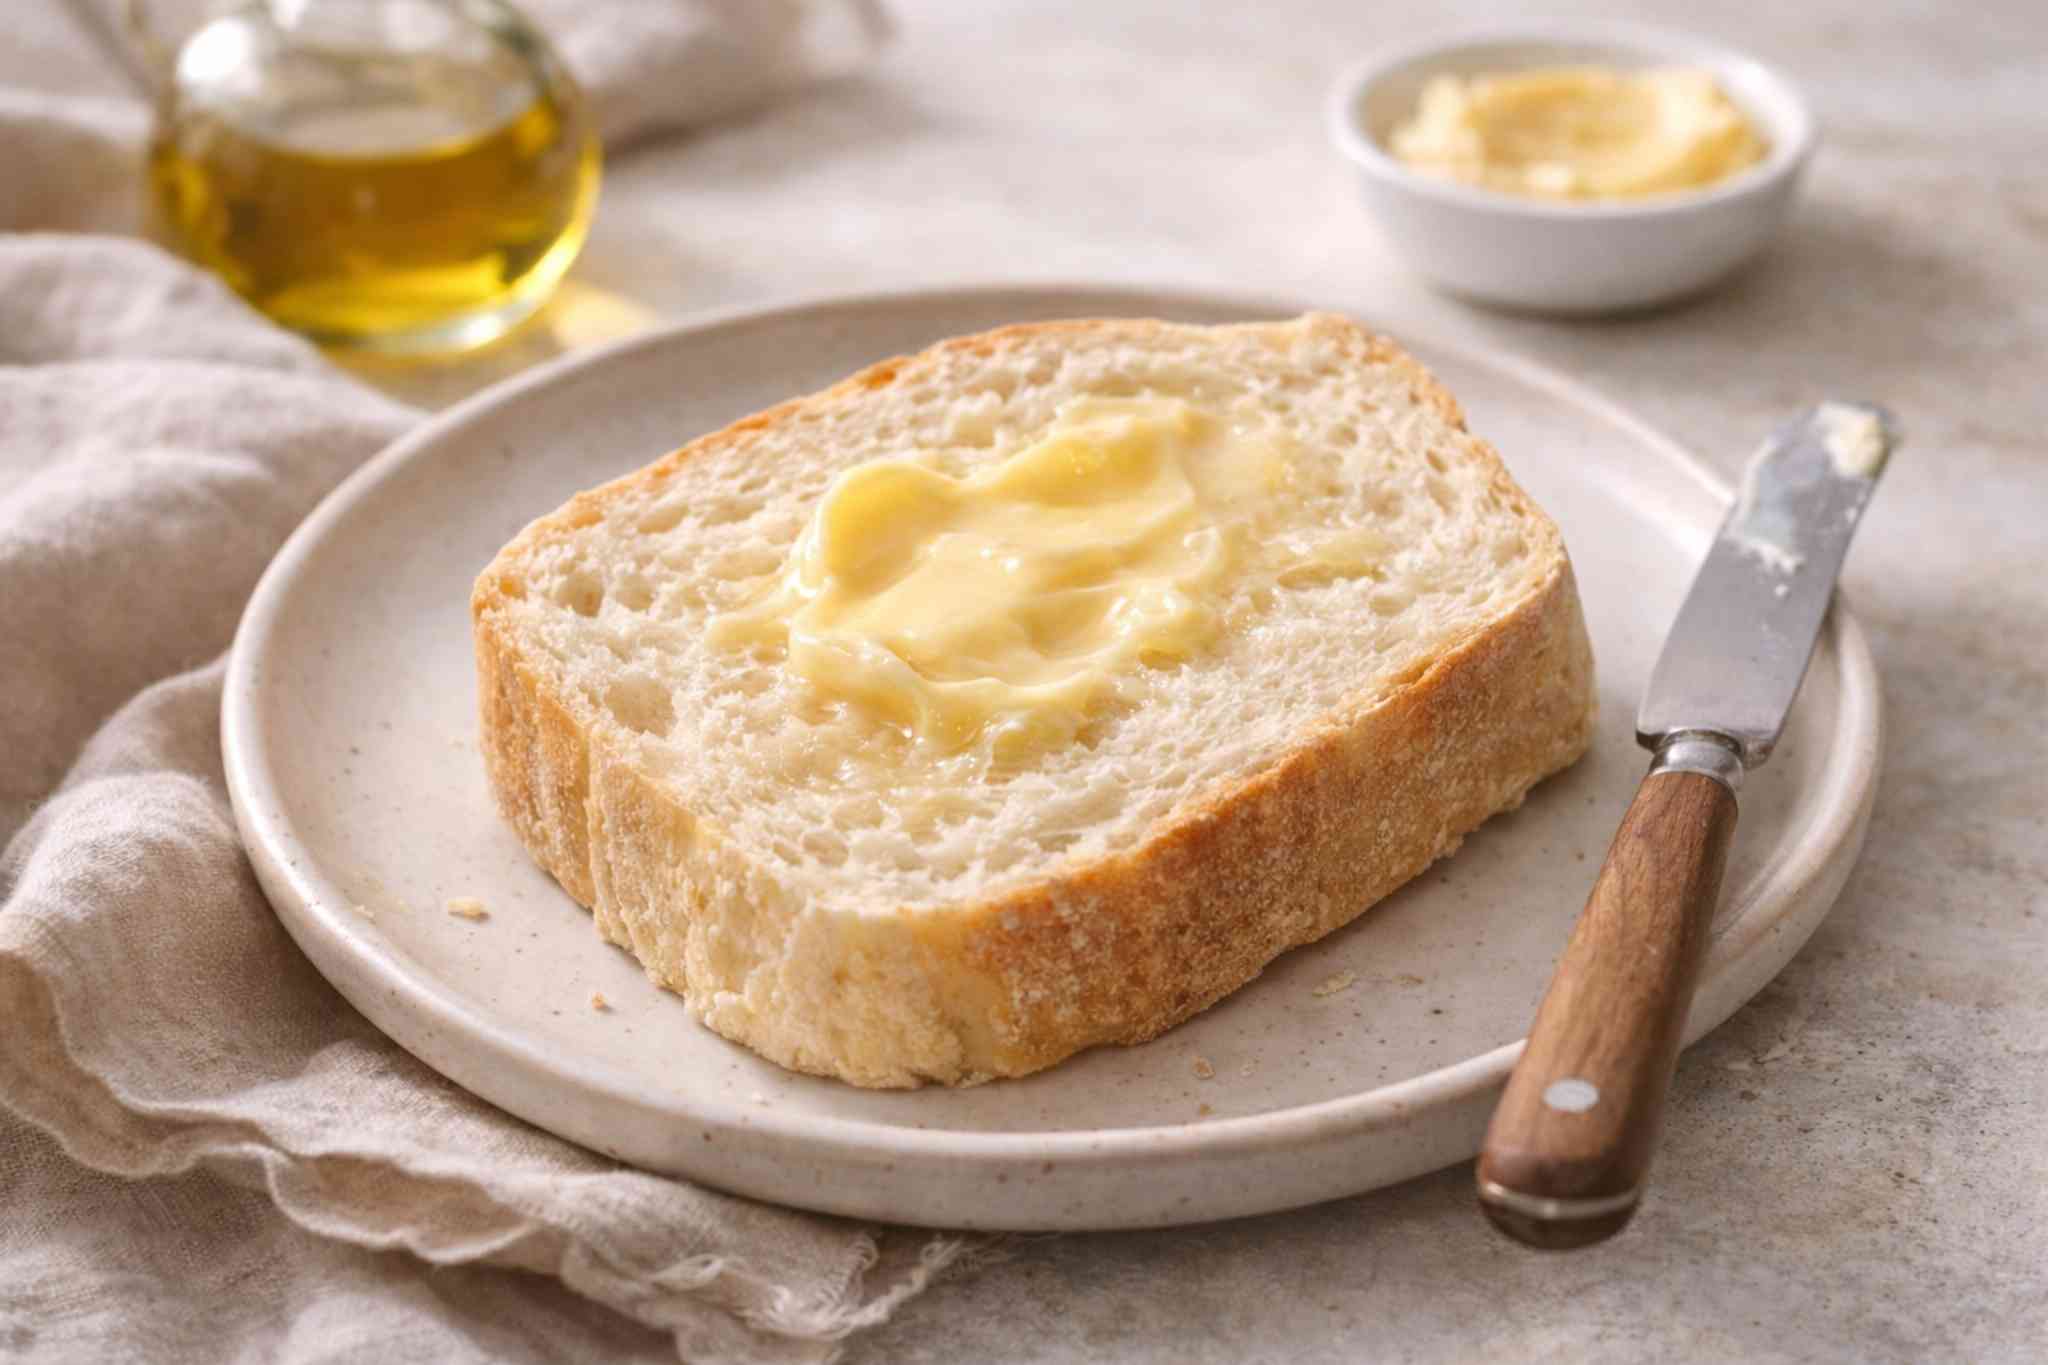
- Toast with butter
- Sandwich base
- Serve with soups
This homemade bread tastes best when served slightly warm with butter.

Storage
- Room temp: 2–3 days (airtight)
- Fridge: up to 1 week
Reheating
- Microwave: 10 seconds (softens)
- Toast: crisp texture
FAQs
1. Why is my homemade bread dense?
Usually caused by too much flour or under-kneading. The dough should feel soft and slightly tacky before kneading. Proper proofing also plays a big role—if it doesn’t double, the final loaf won’t be airy.
2. Can I use honey instead of sugar?
Yes, honey works well in homemade bread. It slightly changes flavor and adds moisture, making the loaf softer. Use the same quantity and reduce water slightly if needed.
3. Can I make homemade bread without a mixer?
Absolutely. In fact, I recommend hand kneading for beginners—it helps you understand dough texture better and improves consistency over time.