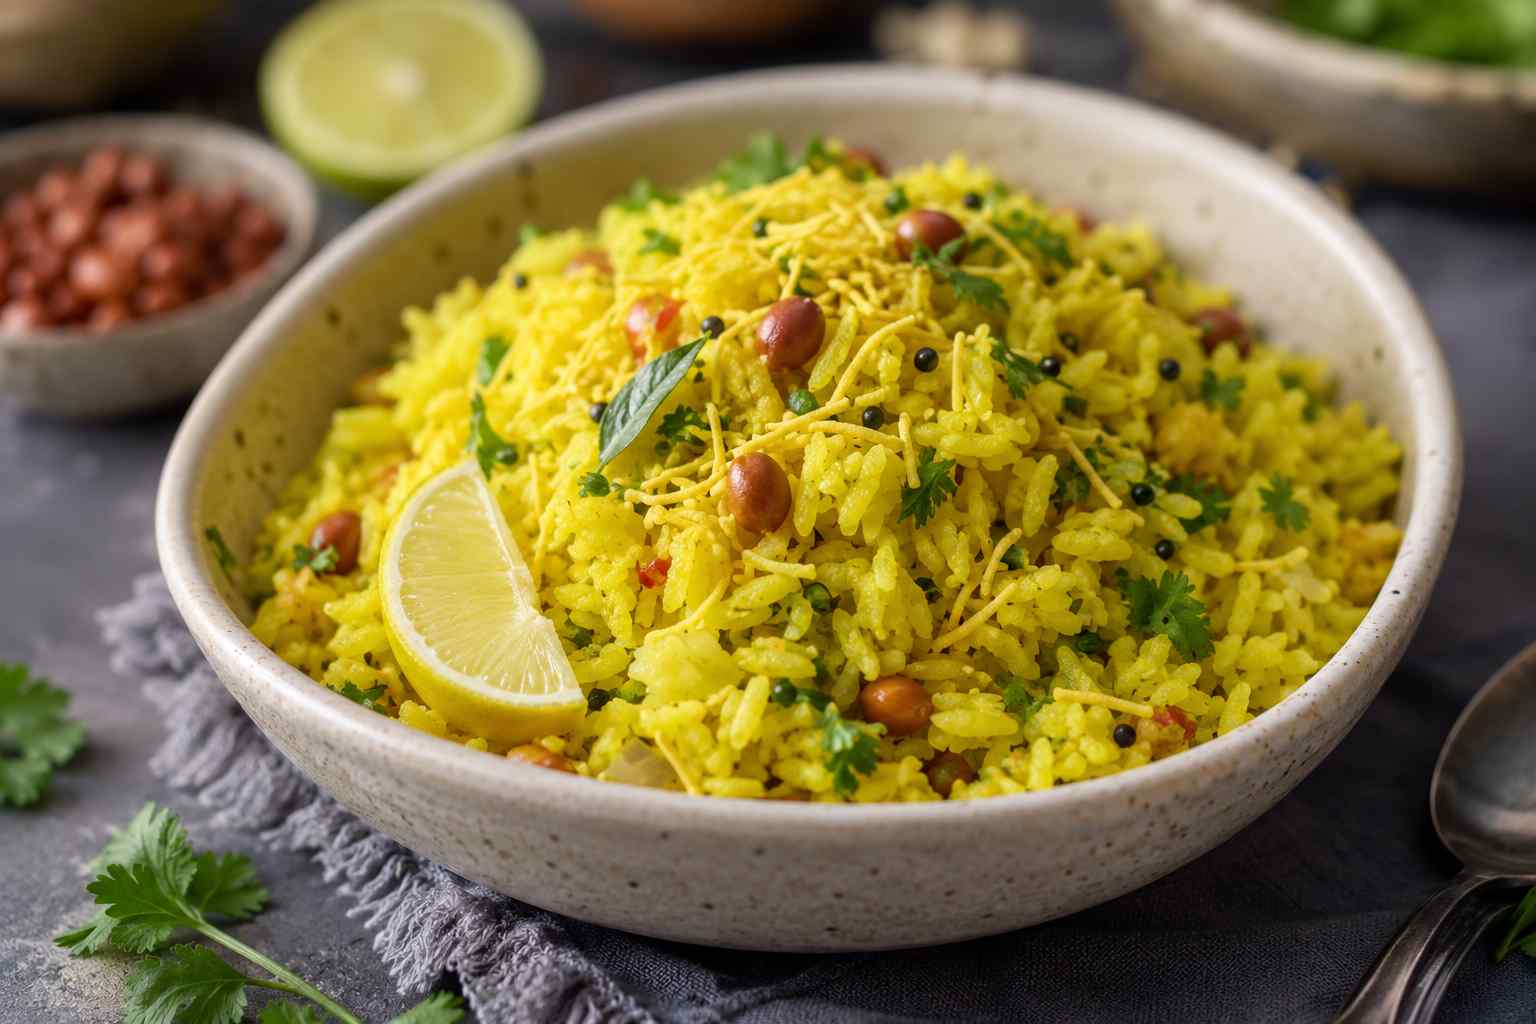
Poha Recipe (Soft, Fluffy & Non-Mushy)
Quick Recipe Summary
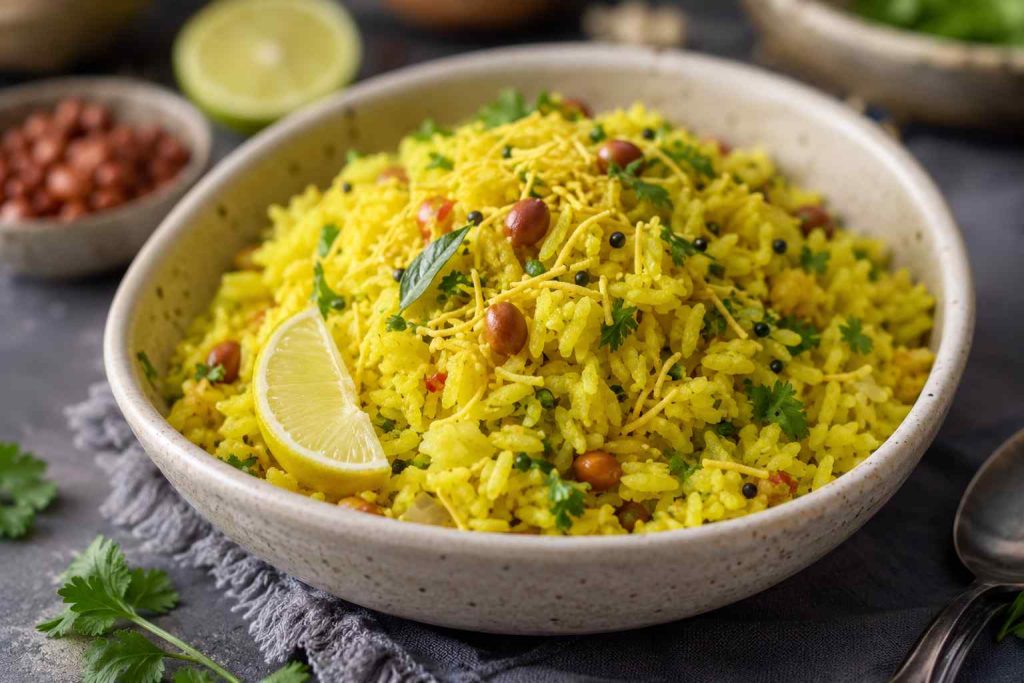
Poha is a quick Indian breakfast made with flattened rice, onions, peanuts, curry leaves, and simple spices. This beginner-friendly recipe takes about 25 minutes from start to finish and creates soft, fluffy poha with separate grains and plenty of flavor.
Prep Time: 10 minutes
Cook Time: 15 minutes
Total Time: 25 minutes
Servings: 4
How to Make Poha Without Making It Mushy
To make soft and fluffy poha:
- Use thick poha.
- Rinse it quickly instead of soaking.
- Drain all excess water.
- Mix gently.
- Steam on low heat for 2 minutes.
These five steps help keep the flakes soft and separate.
Ingredients
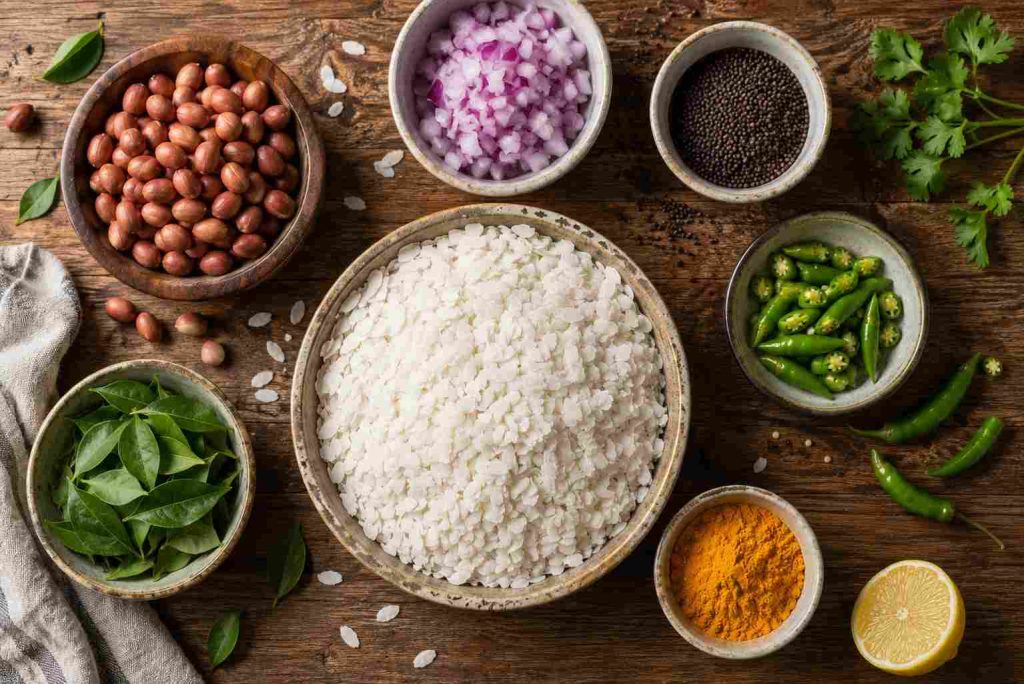
Main Ingredients
- 1½ cups thick poha (flattened rice)
- 1 medium onion, finely chopped
- 2 tablespoons raw peanuts
- 2 green chilies, finely chopped
- 8–10 curry leaves
- ½ teaspoon mustard seeds
- ½ teaspoon cumin seeds
- ¼ teaspoon turmeric powder
- ¾ teaspoon salt (or to taste)
- 1 teaspoon sugar (optional)
- 2 tablespoons oil
- 2 teaspoons lemon juice
- 2 tablespoons chopped coriander leaves
Optional Garnishes
- 2 tablespoons sev
- 2 tablespoons grated fresh coconut
Before You Start
Which Poha Should You Use?
For best results, use thick poha.
Medium poha also works well.
Avoid thin poha because it absorbs water quickly and often becomes mushy.
Equipment Needed
- Large strainer or colander
- Kadai or frying pan
- Spatula
- Knife
- Chopping board
Prep Checklist
Before switching on the stove:
- Chop onions.
- Chop green chilies.
- Wash coriander leaves.
- Measure spices.
- Keep lemon ready.
How to Check if Poha Is Ready
After rinsing, press one poha flake between your fingers.
Ready:
- Soft
- Breaks easily
- Still holds its shape
Not Ready:
- Feels hard
- Remains crunchy
If the poha still feels hard, sprinkle 1–2 tablespoons water over it and let it rest for 3–5 minutes.
Step-by-Step Instructions
Step 1: Wash the Poha
Place the poha in a strainer.
Rinse it quickly under running water 2 times.
Do not soak it.
Allow all excess water to drain.
Visual Cue: The flakes should look slightly swollen.
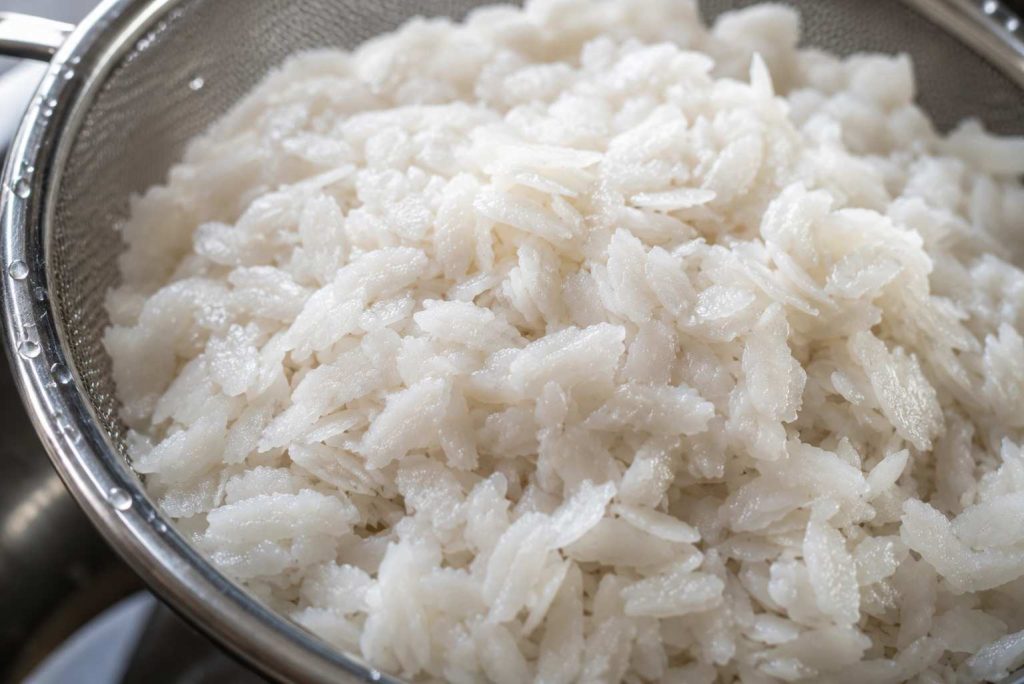
Texture Cue: Soft when pressed but not sticky.
Why This Matters: Overwashing and soaking are the most common reasons poha becomes mushy.
Step 2: Season the Poha
Add:
- Turmeric powder
- Salt
- Sugar (if using)
Mix gently.
Do not press the flakes while mixing.
Visual Cue: The poha should have an even light-yellow color.
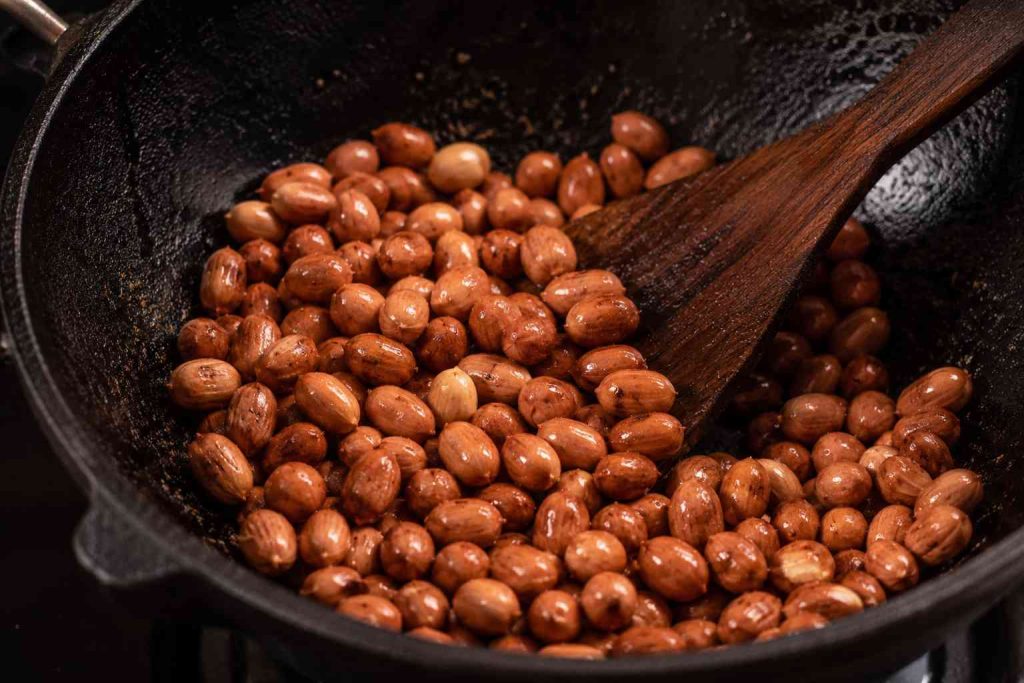
Step 3: Roast the Peanuts
Heat 1 tablespoon oil in a kadai over medium-low heat.
Add peanuts.
Roast for 3–4 minutes while stirring occasionally.
Remove and keep aside.
Visual Cue: Light golden color.
Texture Cue: Crunchy when bitten.
Smell Cue: Fresh roasted nut aroma.
Step 4: Prepare the Tempering
Add the remaining oil to the same pan.
Keep the flame on medium.
Add mustard seeds.
When they start popping, add cumin seeds.
Visual Cue: Mustard seeds splutter actively.
Smell Cue: Warm spicy aroma.
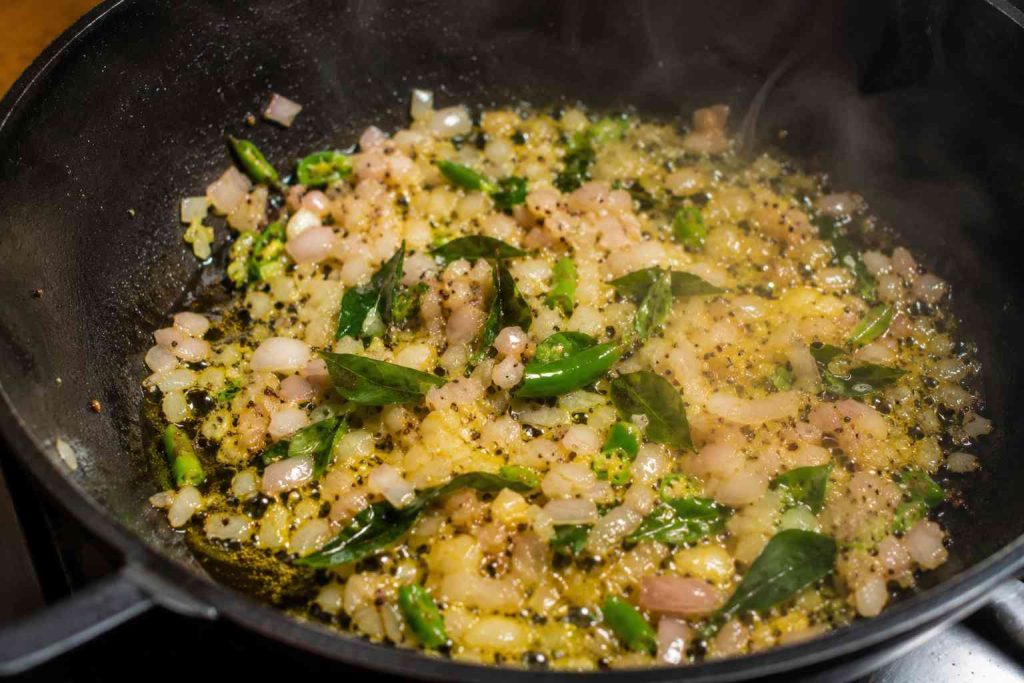
Step 5: Cook the Aromatics
Add:
- Curry leaves
- Green chilies
- Chopped onions
Cook for 3–4 minutes on medium heat.
Visual Cue: Onions become soft and translucent.
Smell Cue: Raw onion smell disappears.
Avoid browning the onions.
Brown onions change the flavor of poha.
Step 6: Add Peanuts and Poha
Add roasted peanuts.
Add the prepared poha.
Mix gently using a lifting and folding motion.
Do not stir aggressively.
Visual Cue: Ingredients look evenly mixed.
Texture Cue: Poha flakes remain separate.
Step 7: Steam the Poha
Reduce the heat to low.
Cover the pan with a lid.
Steam for 2 minutes.
If the poha looks dry, sprinkle 1–2 tablespoons water before covering.
Visual Cue: Steam forms inside the lid.
Texture Cue: Poha becomes soft and fluffy.
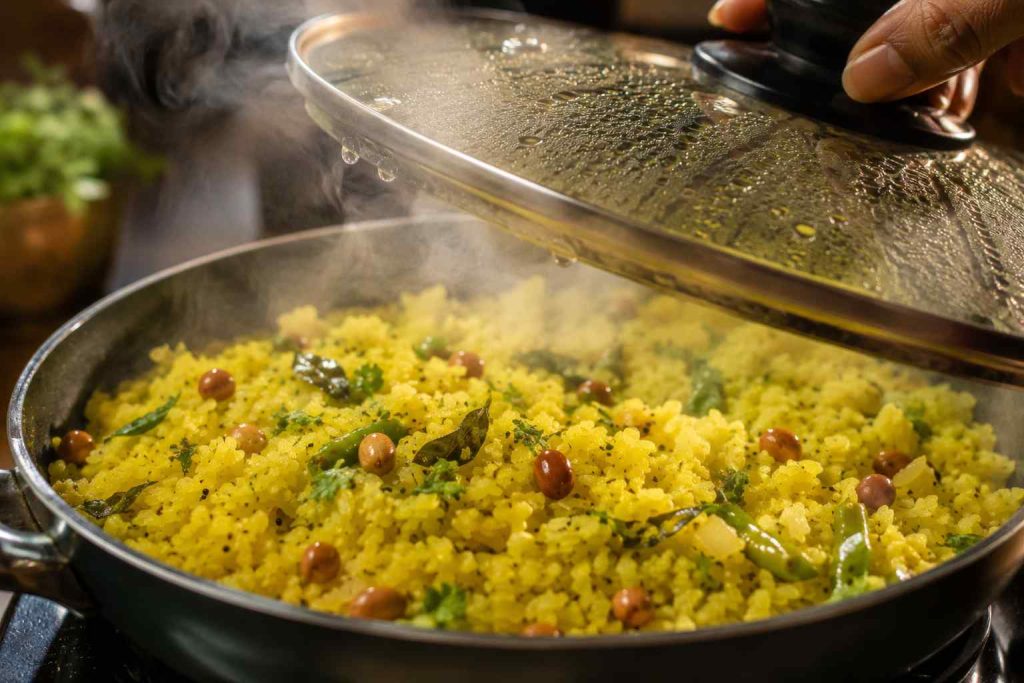
Do not steam for too long or the poha may become sticky.
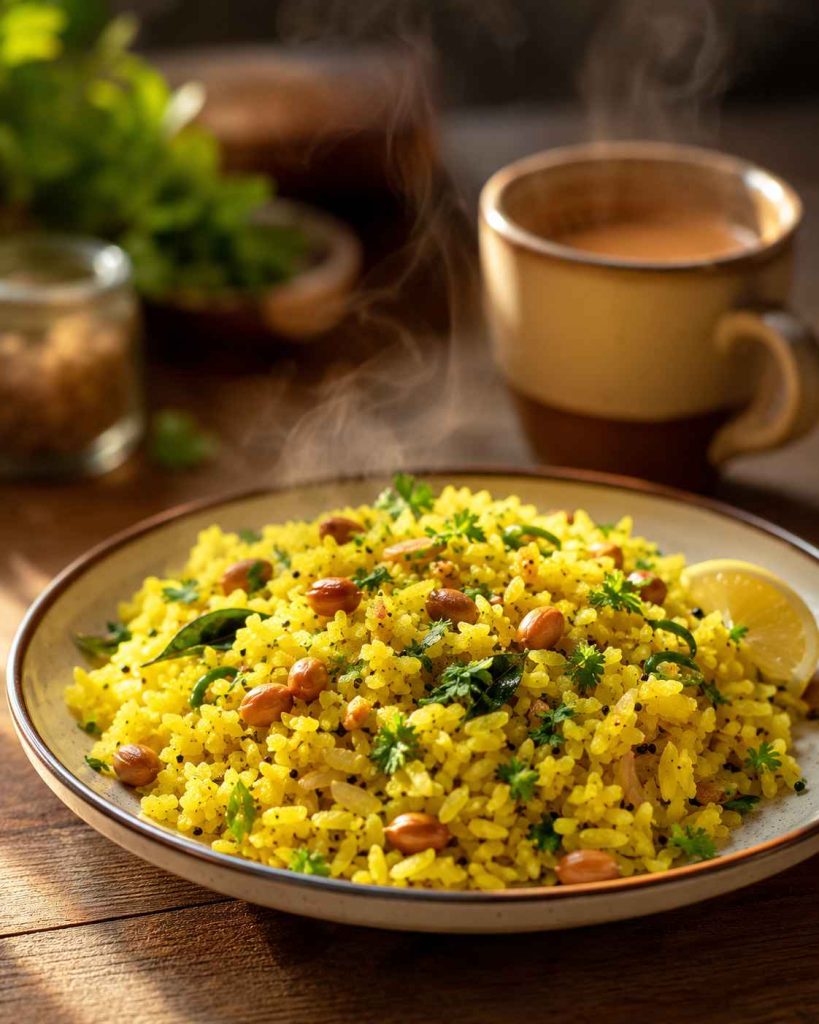
Step 8: Finish and Serve
Switch off the heat.
Add lemon juice.
Add chopped coriander leaves.
Gently fluff the poha.
Top with sev or grated coconut if desired.
Smell Cue: Fresh lemon aroma.
Visual Cue: Bright yellow poha with green coriander and crunchy peanuts.
Serve hot.
Common Mistakes
Using Thin Poha
Thin poha becomes mushy easily.
Soaking the Poha
Poha only needs rinsing.
Cooking on High Heat
High heat can dry the poha and burn the onions.
Overmixing
Aggressive stirring breaks the flakes.
Adding Lemon Juice Too Early
Always add lemon juice after switching off the heat.
Troubleshooting
Why Is My Poha Mushy?
Causes:
- Thin poha
- Overwashing
- Soaking
Solution:
Use thick poha and rinse quickly.
Why Is My Poha Hard?
Cause:
Not enough moisture.
Solution:
Sprinkle 1–2 tablespoons water and steam for another 2 minutes.
Why Is My Poha Dry?
Cause:
Insufficient moisture during steaming.
Solution:
Add a small splash of water and cover again.
Why Are My Peanuts Soft?
Cause:
They were not roasted long enough.
Solution:
Roast until crunchy before adding.
Why Is My Poha Sticky?
Cause:
Too much water or overmixing.
Solution:
Spread the poha in the pan and cook uncovered for 30–60 seconds.
Variations
Vegetable Poha
Add peas, carrots, or capsicum.
Aloo Poha
Add small cooked potato cubes.
Peanut Poha
Increase the amount of peanuts.
Lemon Poha
Add extra lemon juice before serving.
Healthy Poha
Use red rice poha and add vegetables.
Expert Tips
- Use thick poha for the best texture.
- Roast peanuts separately to keep them crunchy.
- Do not soak poha.
- Use a heavy-bottom pan for even cooking.
- Steam only for 2 minutes.
- Add lemon juice after turning off the heat.
- Taste before serving and adjust seasoning if needed.
Success Checklist
✓ Poha flakes are soft but not mushy
✓ Grains remain separate
✓ Peanuts are crunchy
✓ Onions are soft and translucent
✓ Bright yellow color
✓ Fresh lemon aroma
✓ No excess moisture in the pan
✓ Poha remains fluffy even after 5 minutes
Which poha is best for this recipe?
Thick poha works best because it stays soft without becoming mushy.
Can I use medium poha?
Yes. Medium poha works well, but thick poha is easier for beginners.
Why did my poha become mushy?
Overwashing, soaking, or using thin poha are the most common reasons.