
Knafeh Naameh Home-Made Style
Introduction
Knafeh naameh is one of those desserts that rewards patience more than precision. You press, you rotate, you watch the edges, and you let it tell you when it’s ready. It’s been made a little uneven, a little darker, a little softer many times and still brought to the table proudly. When it’s done right, it feels familiar before it tastes sweet.
Recipe at a Glance
- Dish: Knafeh Naameh
- Style: Stovetop, fine semolina crust
- Texture: Crisp base, soft stretchy cheese
- Skill level: Comfortable home cook
- Make-ahead: Components only
- Best served: Warm, same day
Ingredients
For the naameh crust (fine crust base)
- Fine semolina – This is the backbone of naameh. It gives the crust its smooth, sandy bite. Coarse semolina won’t behave the same here.
- All-purpose flour – Helps the crust hold together once cooked and flipped. Without it, the base tends to crumble.
- Ghee (or clarified butter) – Carries heat evenly and gives the crust that familiar nutty aroma. Regular butter works, but it browns faster and needs more attention.
- Sugar – Just enough to help the crust color and balance the syrup later. This isn’t meant to be sweet on its own.
- Water or milk – Moistens the dough so it bakes evenly before being ground. Milk adds softness, water keeps things neutral. Both are common.
- A pinch of salt – Quietly sharpens everything. Skipping it makes the crust taste flat, even with syrup.
For the cheese filling
- Akkawi cheese, soaked and drained – Brings the traditional flavor. It must be de-salted properly or the whole dish leans savory.
- Mozzarella (fresh or low-moisture) – Adds stretch and softness. This supports the akkawi; it doesn’t replace it.
- A splash of milk (optional) – Helps the cheese melt evenly if it’s on the drier side. Not always needed, but useful.
For the sugar syrup (attar)
- Sugar – Sweetens the finished knafeh, not the dough.
- Water – Keeps the syrup light and pourable. Thick syrup overwhelms naameh.
- A few drops of orange blossom or rose water – Scent, not flavor. Too much turns the dessert perfumed instead of familiar.
- A squeeze of lemon – Keeps the syrup clean and prevents heaviness.
For greasing and finishing
- Extra ghee – For the pan. This is what lets the knafeh release cleanly when flipped.
- Ground pistachios (optional) – For the top. They’re traditional, but the knafeh stands on its own without them.
Everything here has a job. Nothing is decorative, and nothing is meant to fight the rest.
Quick Method Summary
- Prepare the sugar syrup and set it aside to cool
- Mix, bake, and finely crumble the naameh crust base
- Soak, drain, and combine the cheeses
- Grease the pan generously with ghee
- Press the crust evenly into the pan
- Spread the cheese layer, keeping edges clear
- Cook over the stovetop, rotating until golden
- Flip, syrup, and serve warm
Step-by-Step Cooking Instructions
1.Make the sugar syrup and set it aside.
It should be thin, clear, and completely cool by the time the knafeh is ready.
2. Mix the naameh dough ingredients until evenly moistened.
The mixture will look soft and slightly rough, not smooth like batter.
3. Bake the dough until just set, not colored.
It should feel dry on the surface and firm underneath, with no browning.
4. Let the baked dough cool, then crumble and grind it finely.
It should fall like damp sand through your fingers, not clump and not turn to flour.
5. Soak the akkawi cheese, then drain and squeeze it well.
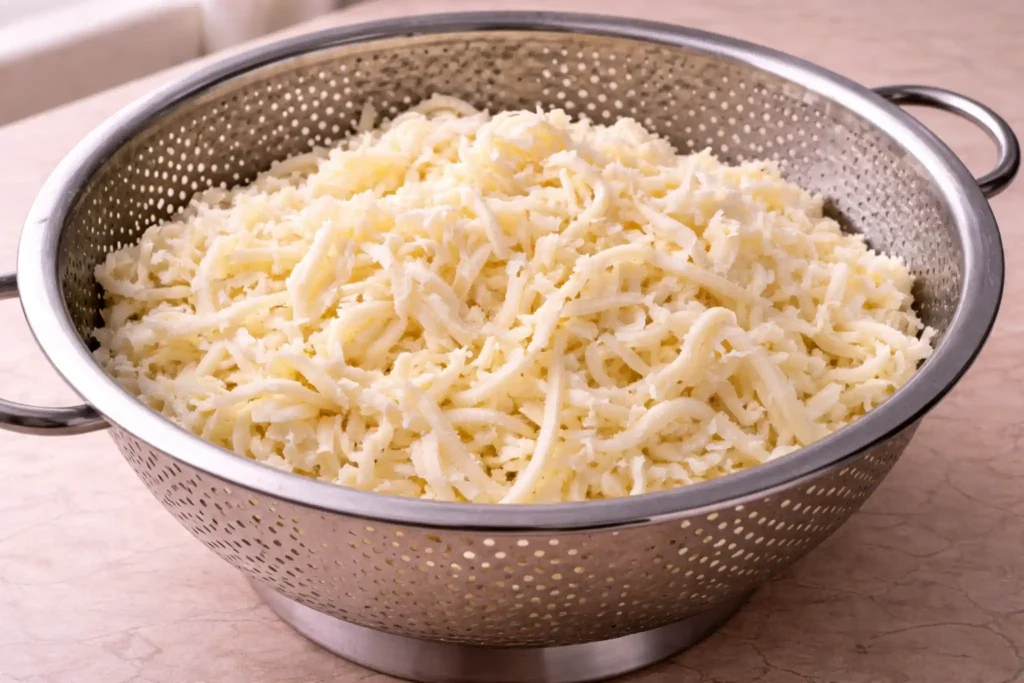
When you press it in your hand, no liquid should drip out.
6. Combine the cheeses gently.
They should feel pliable and soft, not wet or stiff.
7. Grease the pan generously with ghee.
The bottom should look shiny, with no dry patches at all.
8. Press the naameh crust firmly into the pan.
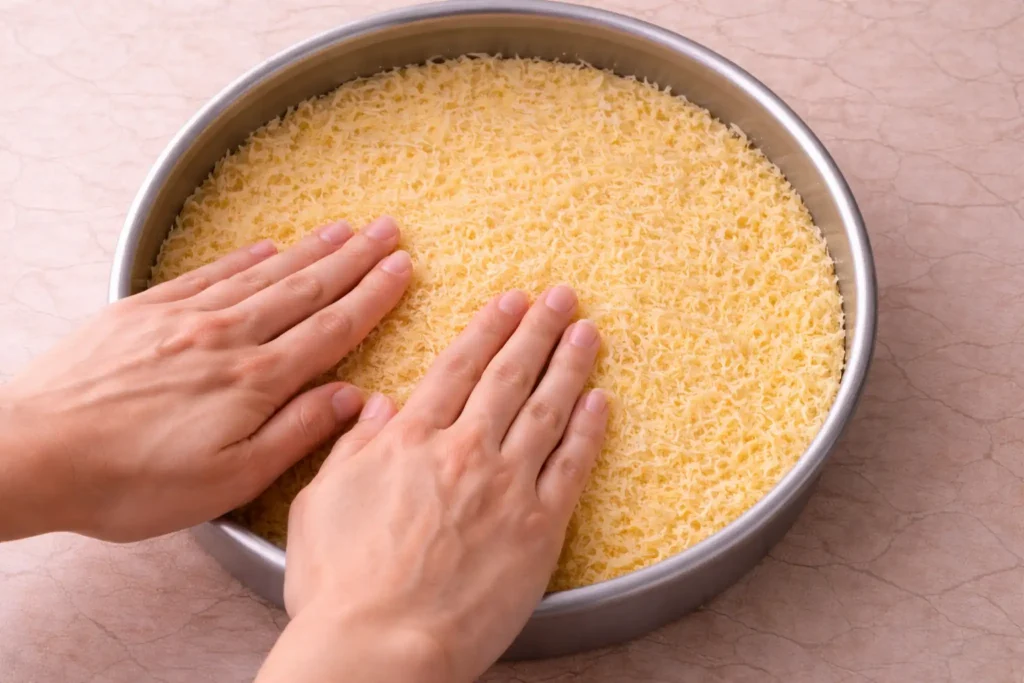
It should feel compact and level, especially around the edges.
9. Spread the cheese over the crust, leaving the rim bare.
The cheese will relax and spread on its own once the heat hits it.
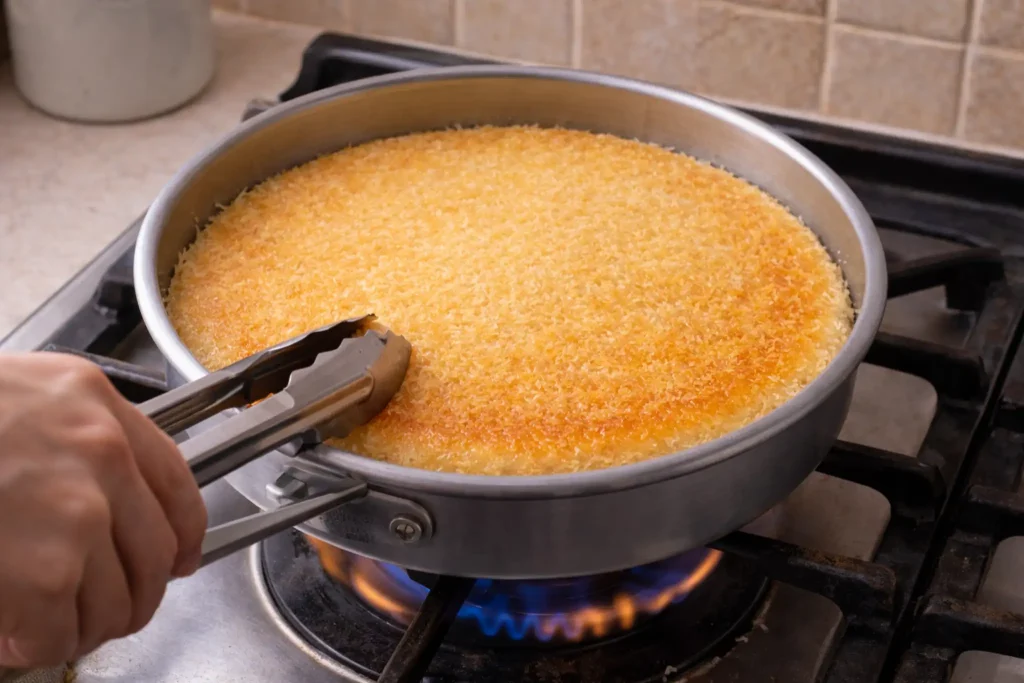
10. Place the pan over the stovetop with the flame covering only half the base.
You’ll hear a gentle sizzle, never a sharp hiss.
11. Rotate the pan slowly and continuously.
The smell will shift from raw dough to toasted butter, and the edges will start to color.
12. Blot any moisture rising from the cheese.
A quick press with a cloth keeps the crust crisp underneath.
13. Watch the edge of the crust until it turns deep golden.
That color tells you the bottom is ready, even if the top looks pale.
14. Remove from heat and let it rest briefly.
The cheese will finish melting without pushing out liquid.
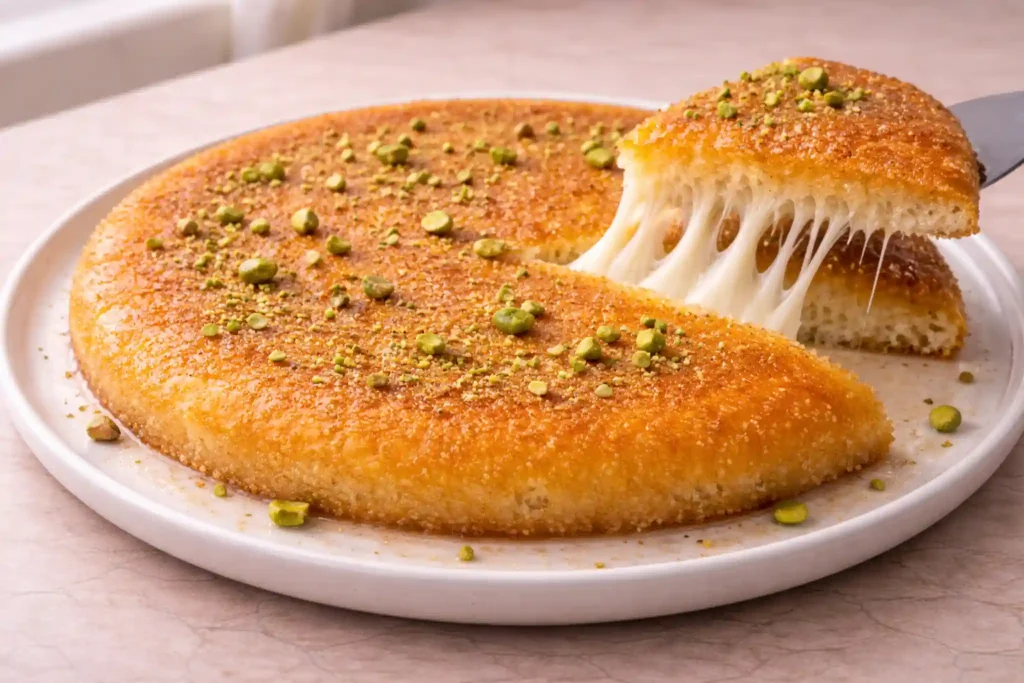
15. Flip the knafeh onto a greased serving plate.
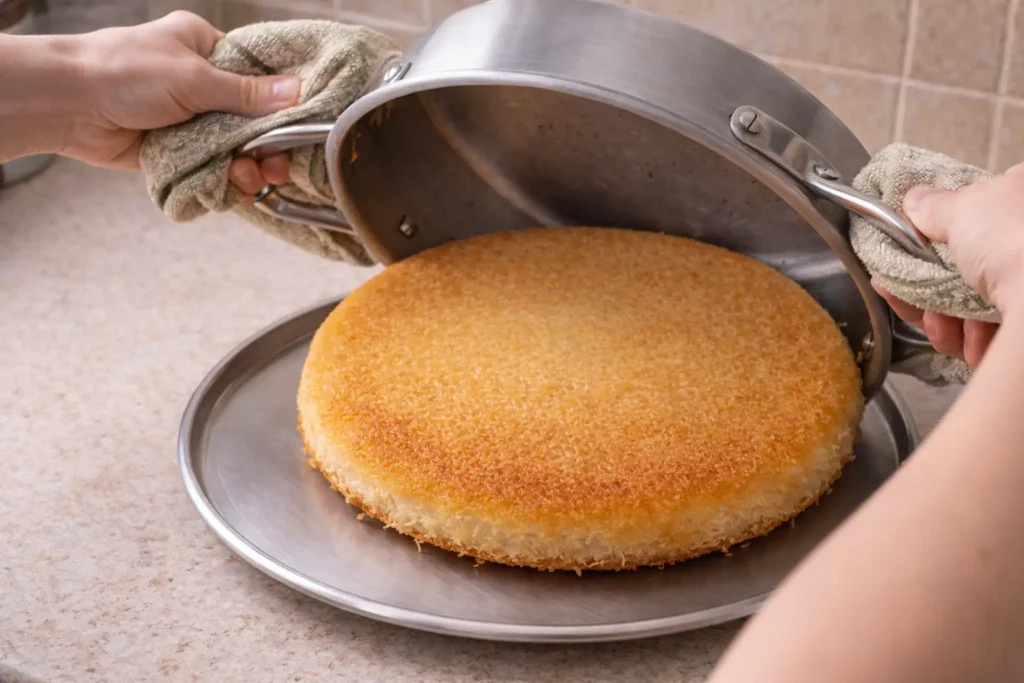
It should release cleanly with a soft thud, not crack or stick.
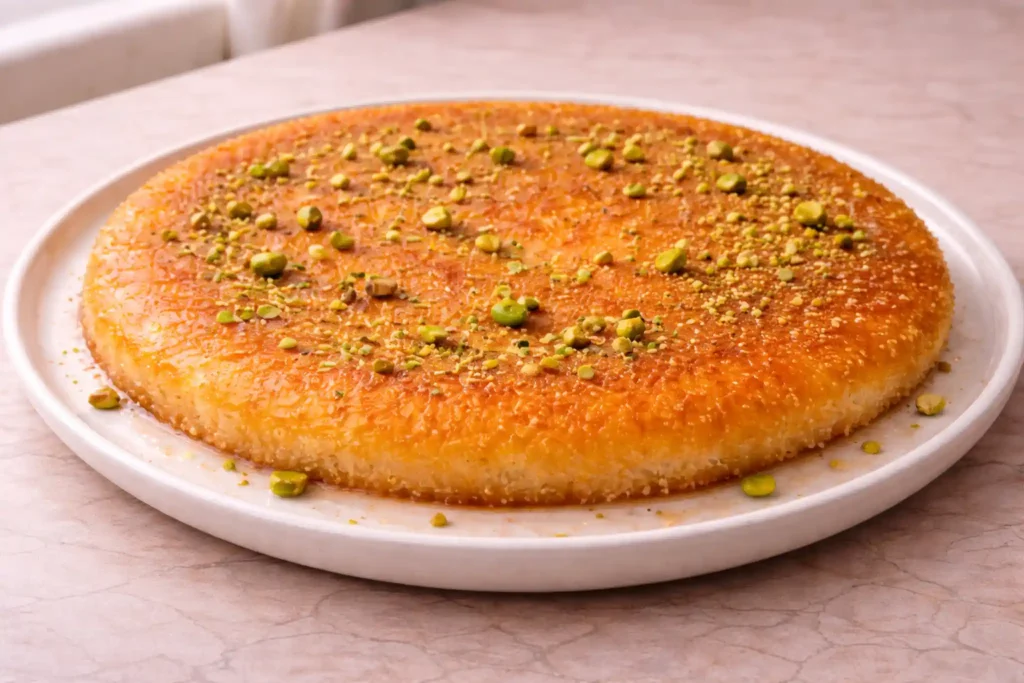
16. Pour the cooled syrup evenly over the hot knafeh.
It will soak in quietly, leaving the surface glossy, not wet.
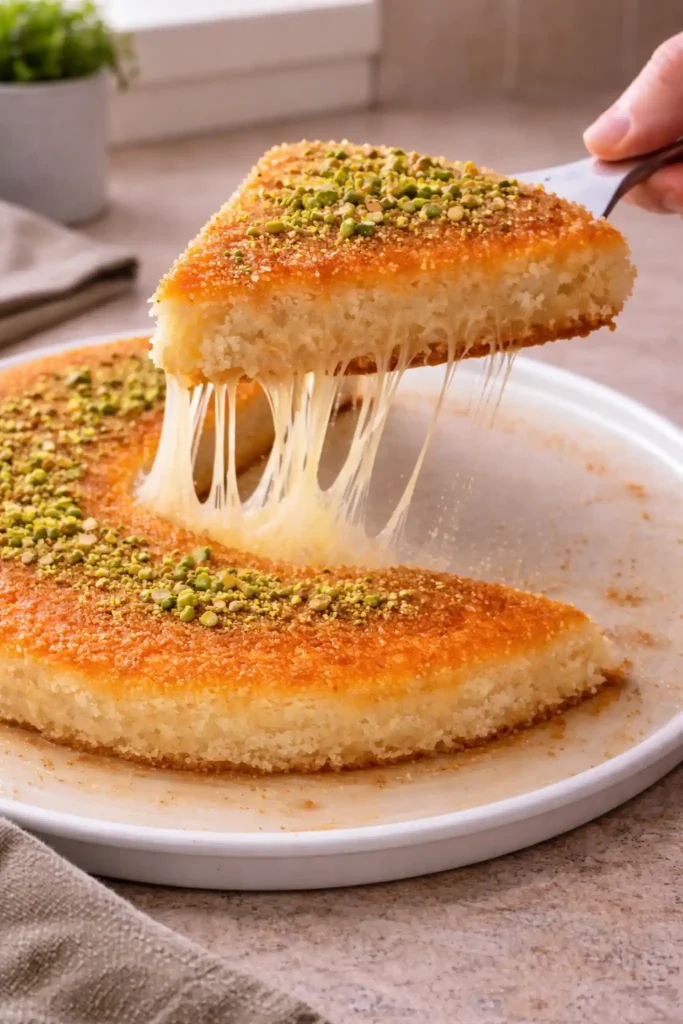
17. Garnish lightly and serve warm.
The crust stays crisp, the cheese stretches easily, and nothing feels rushed.
Why This Dish Fails — and How to Prevent It
Soggy crust
Drain the cheese longer than you think you need to. Press it, let it sit, then press it again. Blot moisture as it rises while cooking, not after.
Burnt center with pale edges
Keep the pan off-center over the flame and rotate it constantly. The edge tells the truth, not the middle.
Crust breaking during the flip
Press the crust firmly, especially near the sides, and don’t rush the release. If it slides when you shake the pan, it’s ready.
Cheese leaking and sticking to the pan
Leave the rim of the crust bare and grease the pan generously. The cheese will spread on its own once heated.
Dry or rubbery cheese
Stop cooking as soon as the crust is deeply golden. Resting off the heat finishes the melt without tightening the cheese.
Over-sweet knafeh
Keep the syrup light and cooled, and pour just enough to coat. You can always add more at the table.
Serving Knafeh Naameh
Knafeh naameh is served warm, right after it’s flipped and soaked. The crust is still crisp, the cheese pulls easily, and the syrup has settled in without weighing it down. It’s usually cut at the table and eaten as is, sometimes with a light scatter of pistachios. Extra syrup, if needed, is added after serving, not before.
Storage & Reheating
Storage
This is a same-day dessert. If there are leftovers, cover them lightly and keep them in the refrigerator for up to one day. After that, the crust softens and the cheese loses its stretch, even if it’s still edible.
Reheating
Reheat gently. The best way is to place the knafeh plate over a pan of simmering water and let the steam warm it through. The cheese relaxes again and the crust stays intact. A low microwave setting can work in short bursts, but stop as soon as the cheese softens.
What Not to Do
Don’t freeze the finished knafeh.
Don’t reheat in a hot oven; it dries the cheese and hardens the crust.
Don’t drown it in syrup before storing.
Don’t serve it cold and expect it to behave the same.
What is knafeh naameh?
Knafeh naameh is a smooth-crusted knafeh made with fine semolina and filled with melted cheese.
How is knafeh naameh different from khishneh?
Naameh uses a fine, sandy crust, while khishneh uses coarse shredded pastry.
Why is knafeh naameh cooked on the stovetop?
Stovetop cooking allows even browning and proper melting without drying the cheese.
Why does knafeh naameh sometimes turn soggy?
Excess moisture from undrained cheese or pouring too much syrup causes sogginess.